How to Get Bubbles out of Screen Protector?
If you’ve applied a screen protector and noticed air bubbles, don’t worry! Below are effective methods to eliminate those pesky bubbles and achieve a smooth, flawless surface.
Preparing to Install a Bubble-Free Screen Protector
Before you start the installation, gather the following materials:
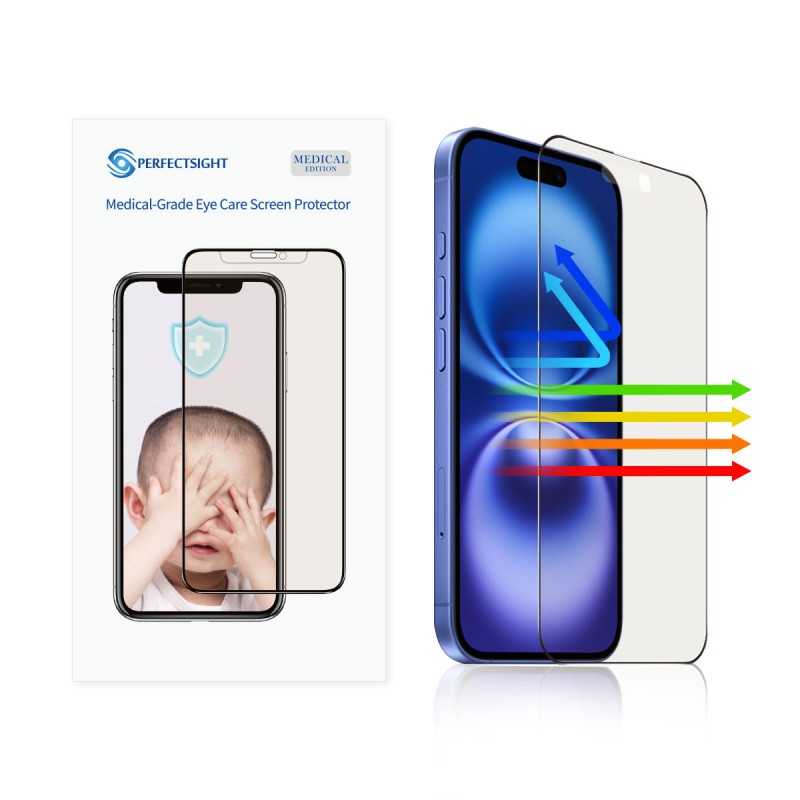
High-Quality Screen Protector: Choose a bubble-free screen protector that is compatible with your MacBook model.
Cleaning Supplies:
Microfiber cloth
Alcohol wipes or cleaning solution
Bubble scraper (usually included with the screen protector)
Dust-Free Environment: Install in an area with minimal dust, such as indoors.
If you notice bubbles forming after applying your screen protector, try the following techniques:
- Reapply the Tempered Glass Screen Protector:
To get started, you might consider carefully removing and reapplying the tempered glass screen protector without any bubbles.
- Utilize a Credit Card or Plastic Scraper:
Use a credit card (ensure it’s not too stiff to avoid scratching the protector) or a plastic scraper to gently push the bubble toward the edges of the screen. Apply light, steady pressure, and avoid harming the screen or protector. Keep doing this until the bubble disappears.
Important: Be gentle and patient during this process—avoid using excessive force.
- Press with Your Finger:
With a clean fingertip, gently press from the center of the bubble outward. Apply slight pressure to help move the bubble toward the edge. Continue to apply pressure until the bubble is minimized.
Note: Avoid using long fingernails to prevent any scratches on the screen protector.
- Heat Method:
For particularly stubborn bubbles, you can try using a hairdryer on a low setting to warm up the protector. Keep the hairdryer about 6–8 inches away from the screen. The heat can help soften the adhesive, making it easier to smooth out bubbles. Just be cautious not to overheat the device.
- Reapply the Protector:
If the previous methods don’t yield results, consider gently lifting one corner of the protector and reapplying it. Ensure to smooth it out as you go to prevent introducing new bubbles.
- Allow It to Sit:
If there are just a few bubbles, letting the device sit may help as some bubbles could disappear naturally over time. Place the device on a flat, dry surface to minimize pressure and vibrations.
Note: This is a passive approach; if there are multiple bubbles affecting usability, consider using some of the other methods mentioned.

Tips for Preventing Future Bubbles
To minimize the chances of bubbles forming in the future, keep these tips in mind:
Install Slowly: Start applying the protector at one edge and gradually move across the screen to allow air to escape efficiently.
Consider the Wet Installation Method: For certain types of screen protectors, lightly mist the back with water before application. This can help reduce bubbles, and you can gently squeeze out any remaining air after applying.
Clean the Screen Thoroughly: Ensure the screen is free of dust and fingerprints before applying the protector. Use a microfiber cloth and a screen-safe cleaner.
Choose Quality Protectors: Invest in high-quality screen protectors that come with better adhesive and installation features to minimize bubble formation.
Avoid Dusty Environments: Try to apply the screen protector in a clean, dust-free environment to reduce the chances of particles getting trapped under the protector.
Additional Tips
-
Use Application Tools: If you frequently install screen protectors, consider purchasing a dedicated installation tool kit. These tools can help you apply the protector more easily.
-
Pay Attention to the Type of Protector: There are various types of screen protectors (such as glossy, matte, anti-fingerprint, etc.). Choose the right type for your needs to reduce the likelihood of bubble formation.
-
Refer to Installation Videos: Search online for related installation videos to help you master the technique and ensure successful application.
-
Bubbles Near the Edges:If you experience bubbles near the edges after installation, gently lifting that edge and using the credit card or scraper to push out the bubble can be effective. Be careful not to pull too hard, as this may break the protector.
Conclusion
Dealing with air bubbles under your screen protector can be frustrating, but with these techniques, you can achieve a smooth application. Remember to be patient and gentle during the process, and follow the preventive tips for easier installations in the future. If you continue to experience issues, it may be worthwhile to try different brands or types of screen protectors that better suit your device.
What's Your Reaction?